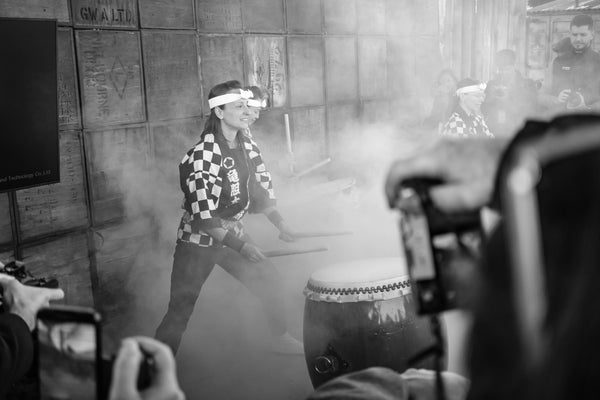

In this Beginner’s Guide To Street Photography, I will cover the basics (and a few advanced tips) for getting started in street photography and making the most of hunting for light. I’ve been shooting street photography for well over a decade, documenting my hometown of Melbourne and its edgy inner suburbs. I’ve also thoroughly enjoyed street photography while on vacation here in Australia and abroad on my journeys to Japan. For me, street photography is about documenting the urban experience and making meaningful observations of light, time, and the ways people interact with the world around them. That world is ever-changing, yet photography freezes moments in time that will never be repeated and all too often forgotten. I also find great solace and peace during my street photography excursions. It’s a form of therapy to help with my overall mental health and wellbeing - plus I enjoy the physical benefits of regular long walks. In the spirit of photography for wellbeing, and hunting the light, I am all in.
Where to begin? The gear, of course!

I often see folks attend photo walks with a big camera backpack full of gear, including multiple lenses, second bodies, filters, tripods and more. However, I believe that too much gear will definitely limit your outcomes and experience. The more time you spend fiddling with gear, the more moments you will miss. Plus, heavy gear fatigues you and distracts you from the task at hand. With street photography, keep your gear to a minimum and keep it really simple. One camera and one lens only - preferably a wide to standard prime lens. My street kit features the Fujifilm X-E5 and either the larger Fujinon XF 23mm F1.4 (35mm full-frame equivalent) or the much smaller Fujinon XF 27mm F2.8 (40mm full-frame equivalent) pancake lens. Alternatively, I grab the compact Fujifilm X70 with its fixed 18.5mm F2.8 lens (27mm full-frame equivalent). I believe the best lens for street photography is a prime or a zoom between 24mm and 50mm (full-frame or equivalent). I really don’t enjoy shooting with zoom lenses and prefer the fixed focal length and faster aperture of a prime. Eventually, with repeated use, I master a prime lens's field of view and can shoot from the hip, confident that I've got all the elements in the frame.

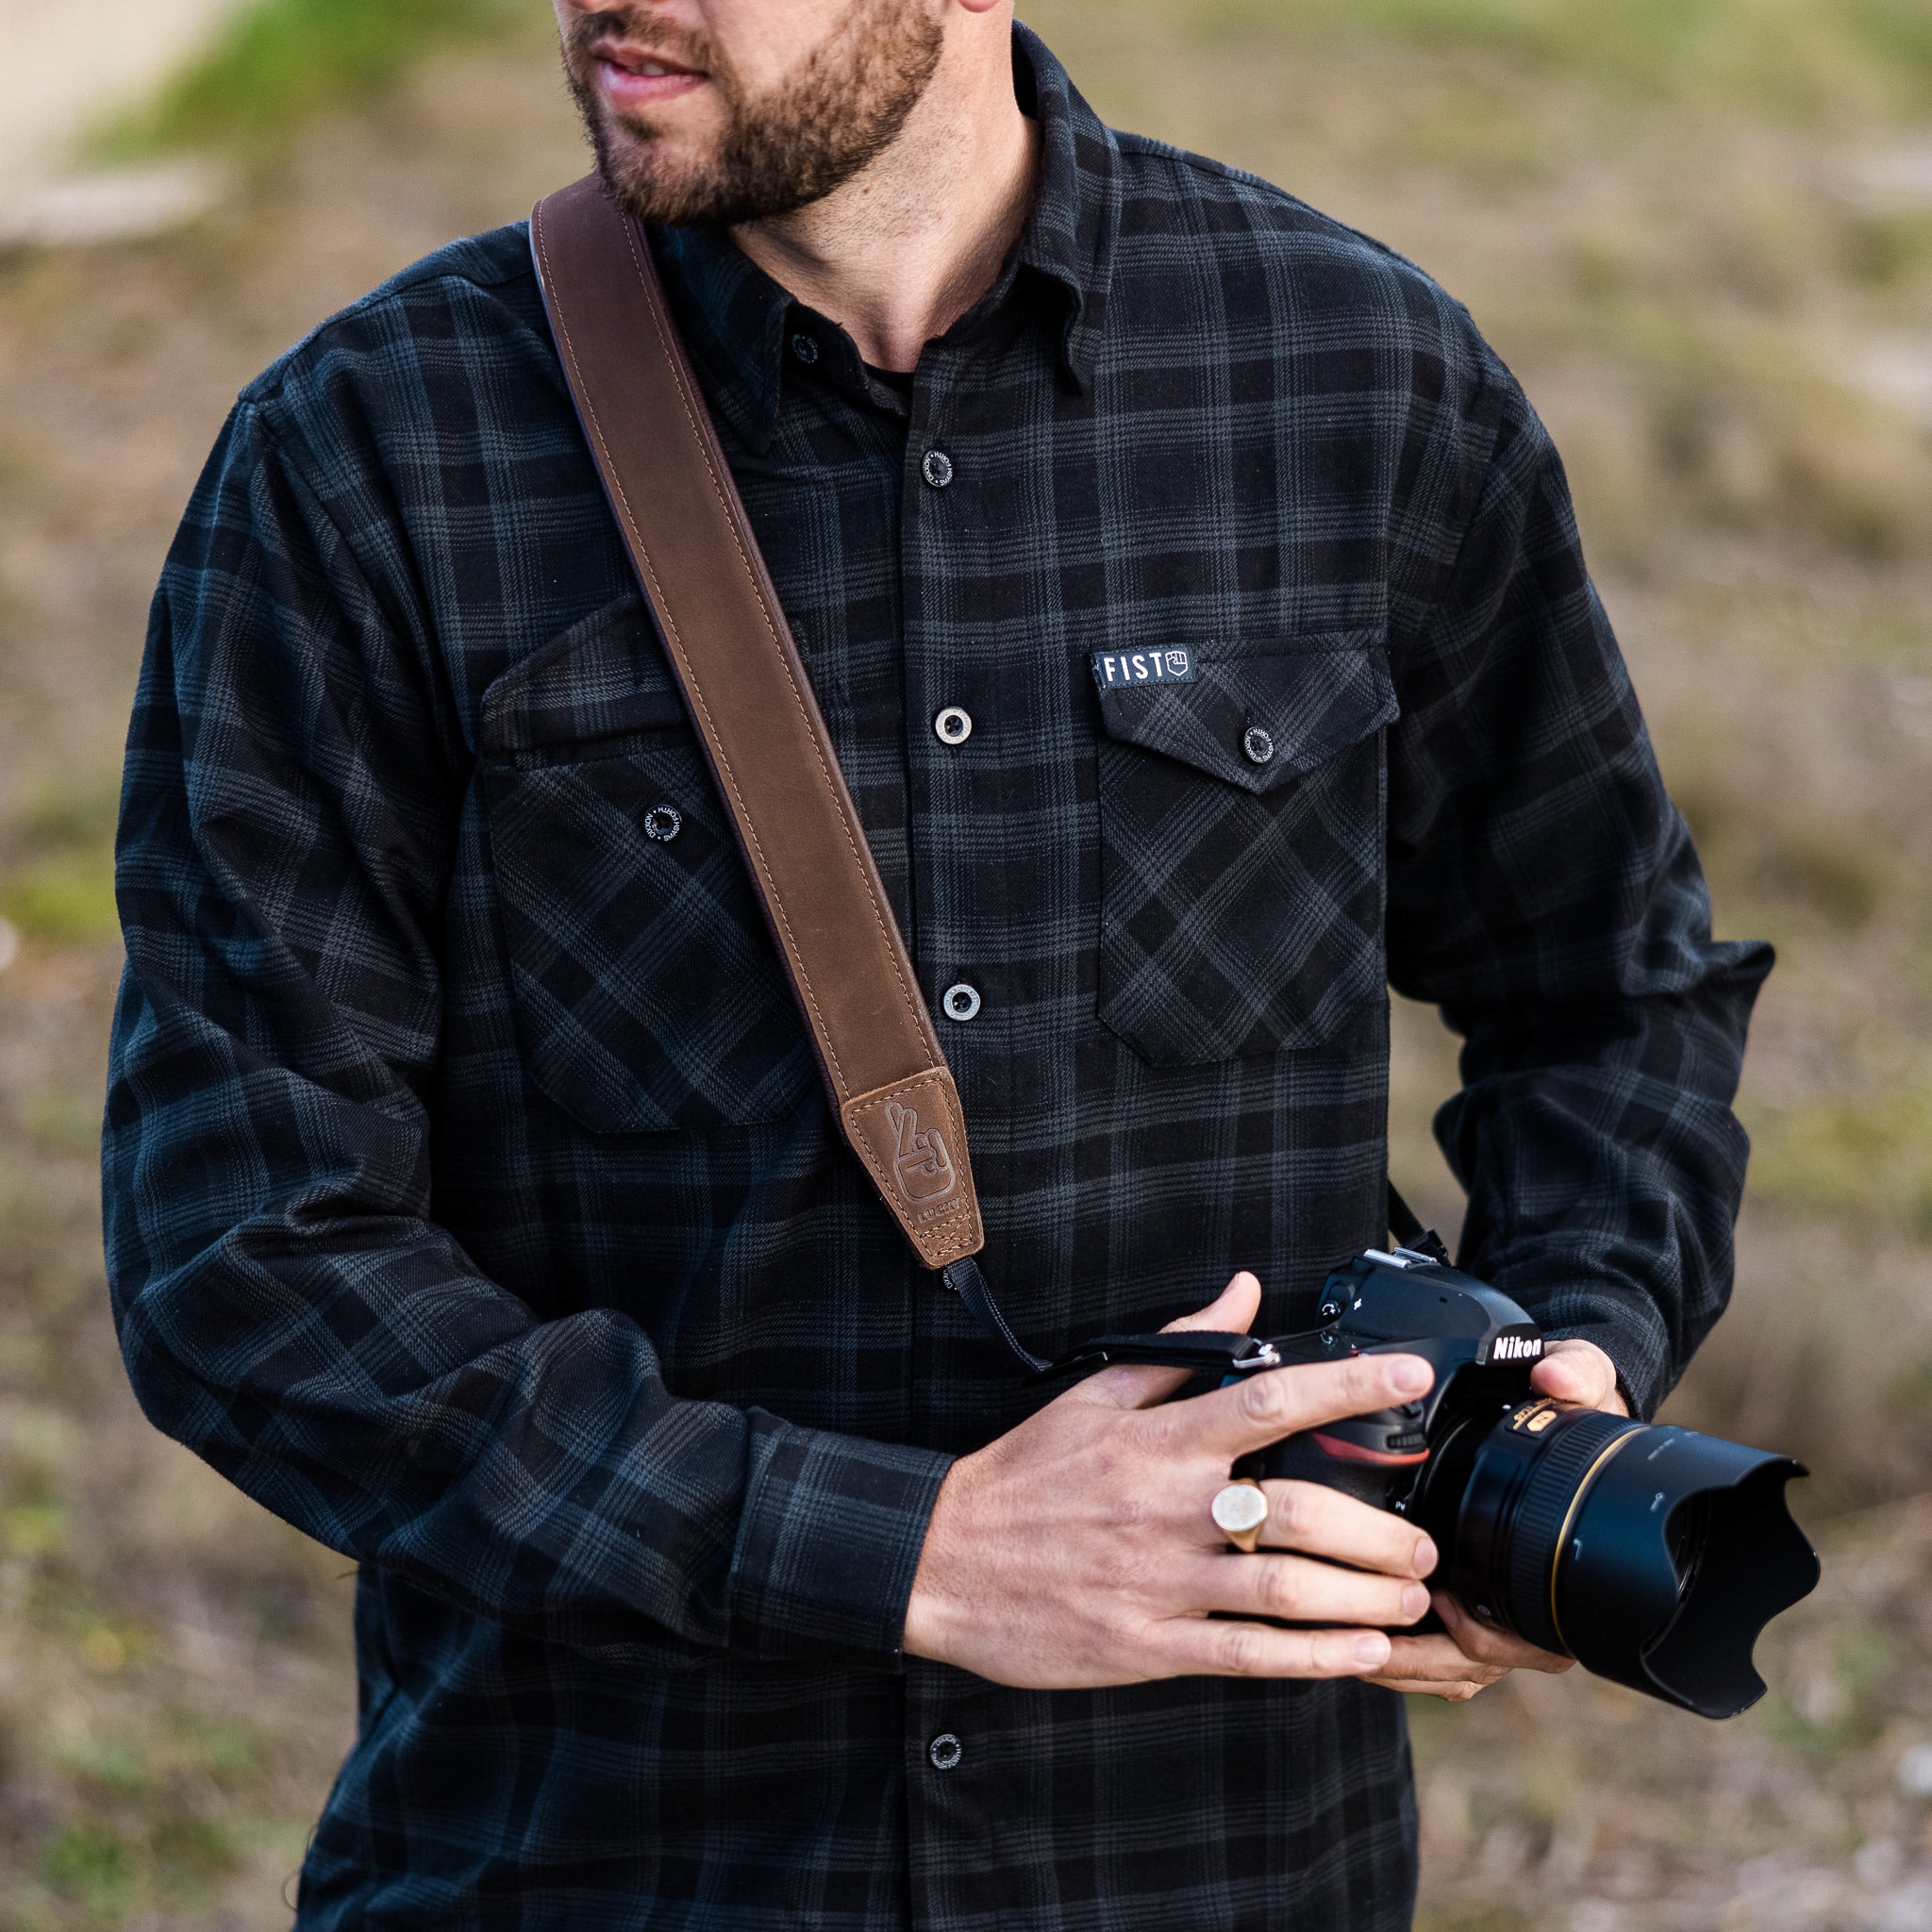
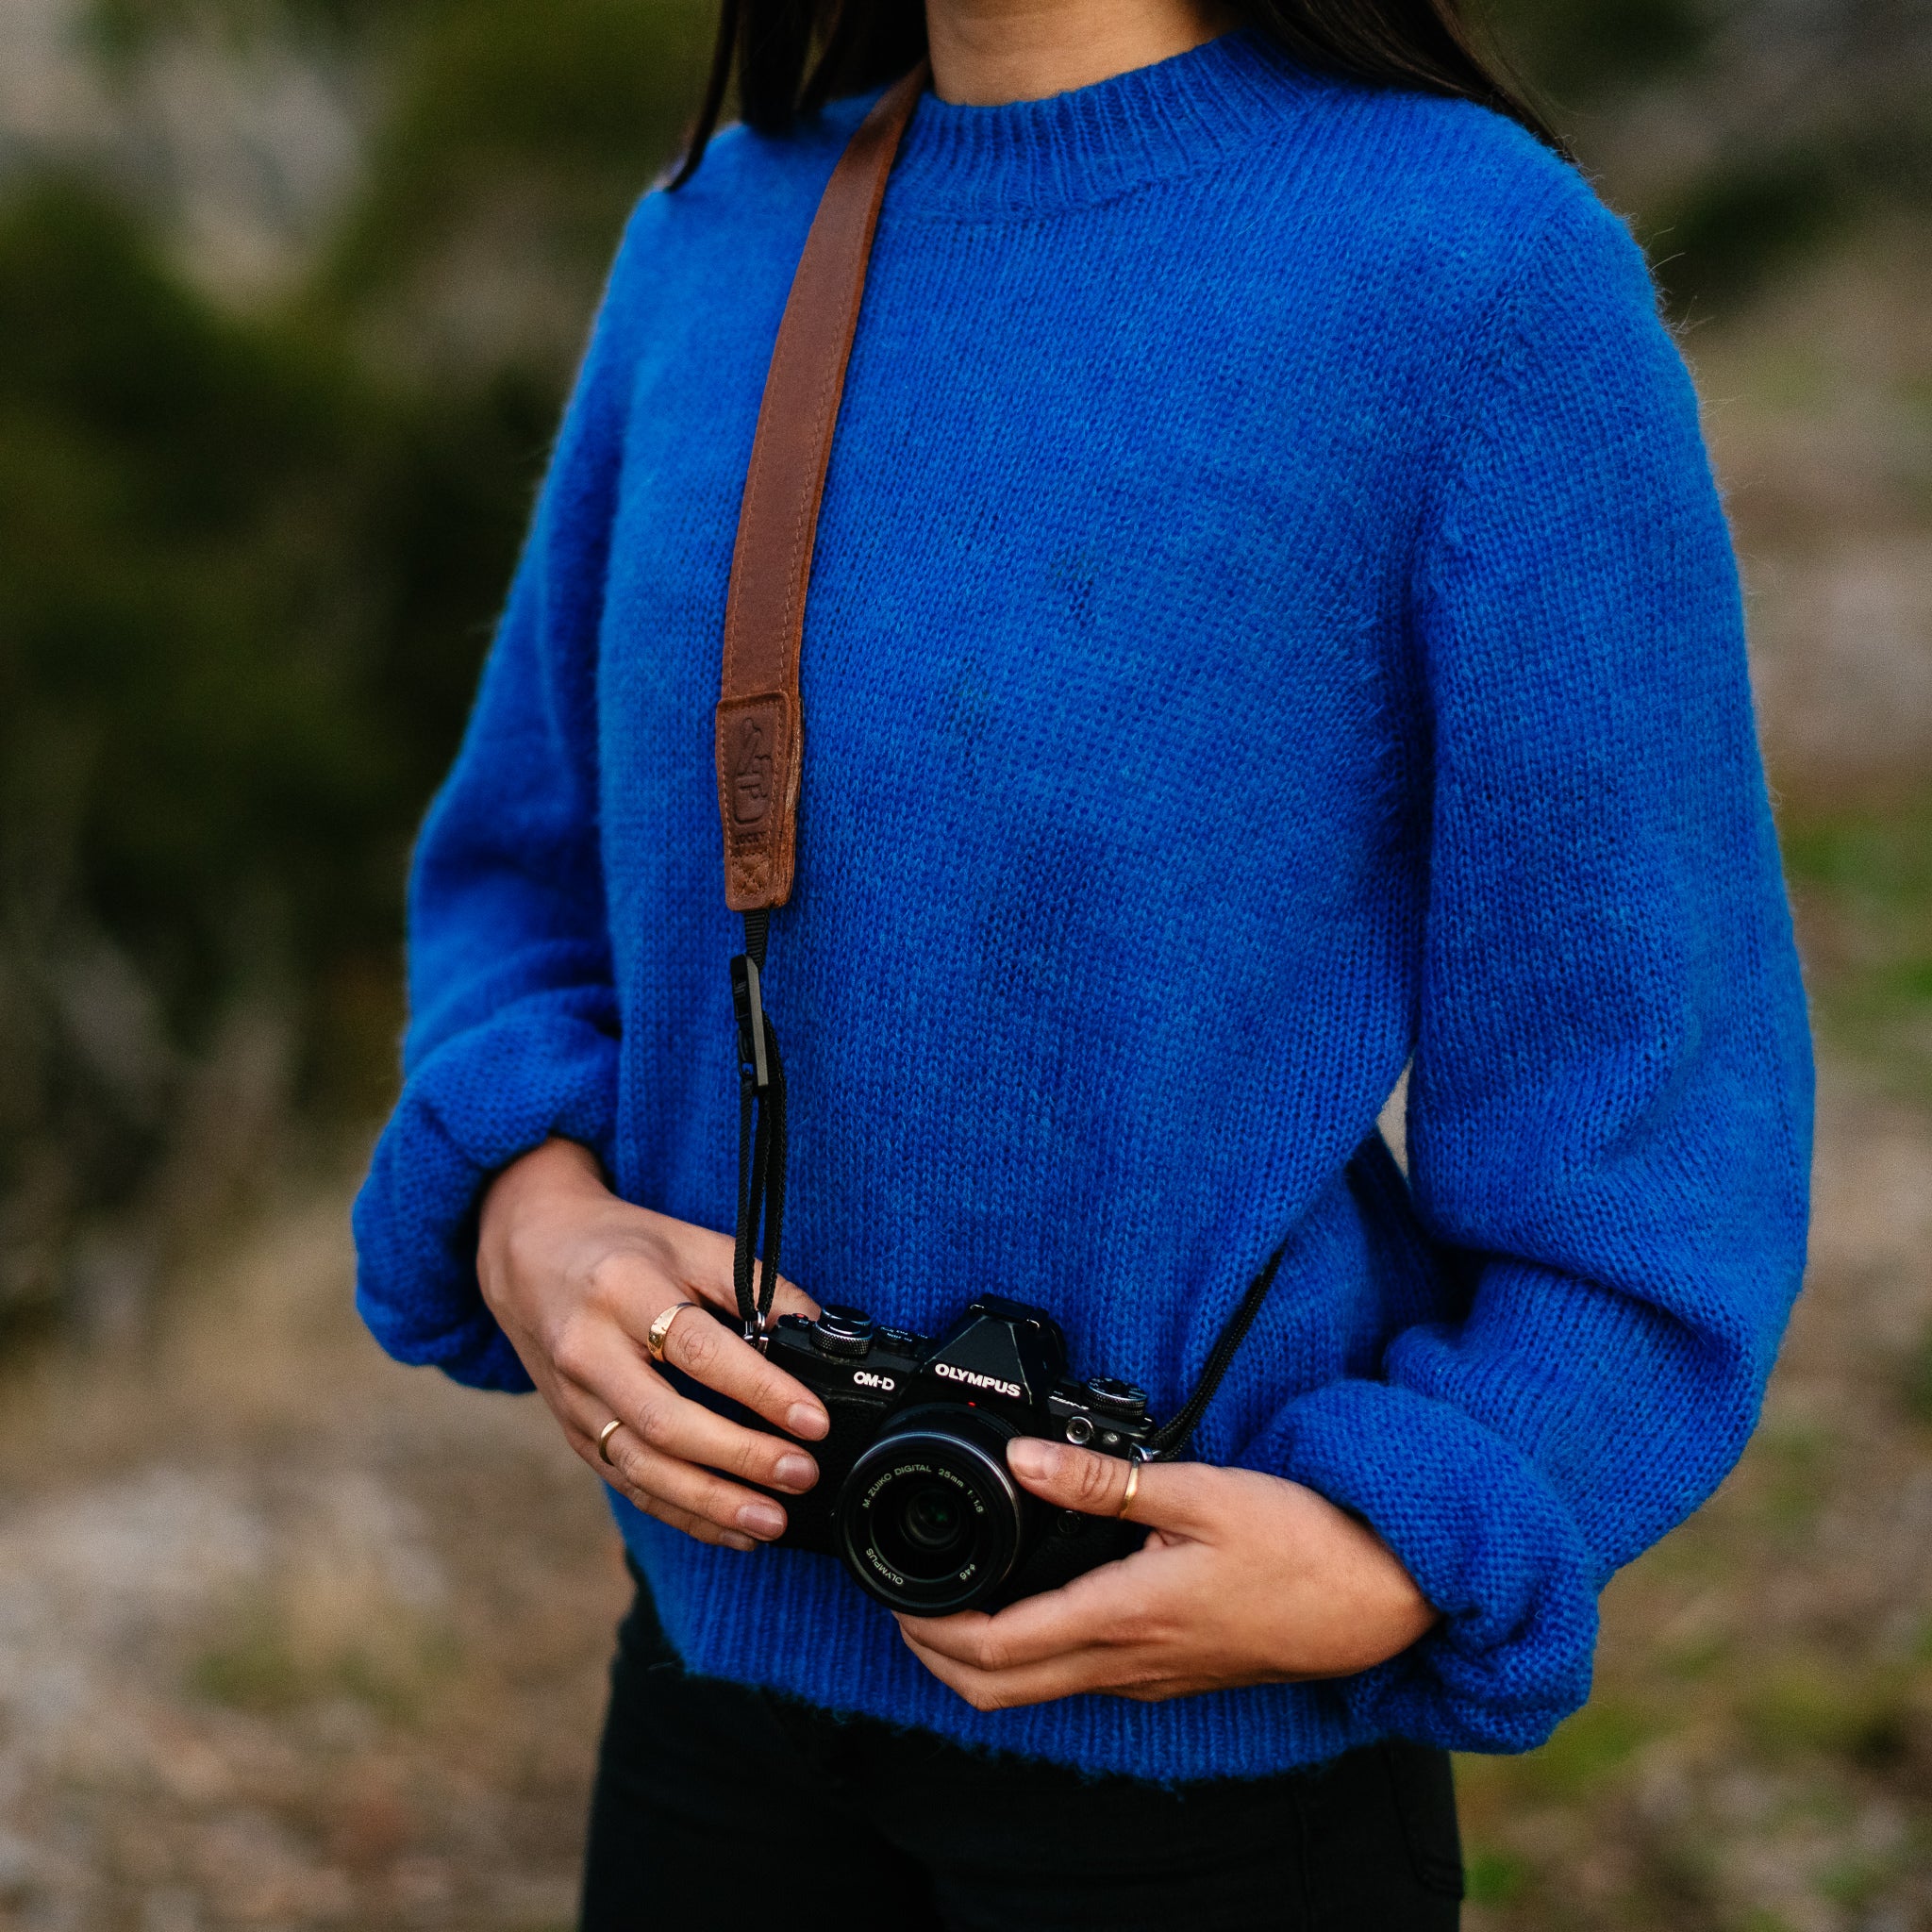
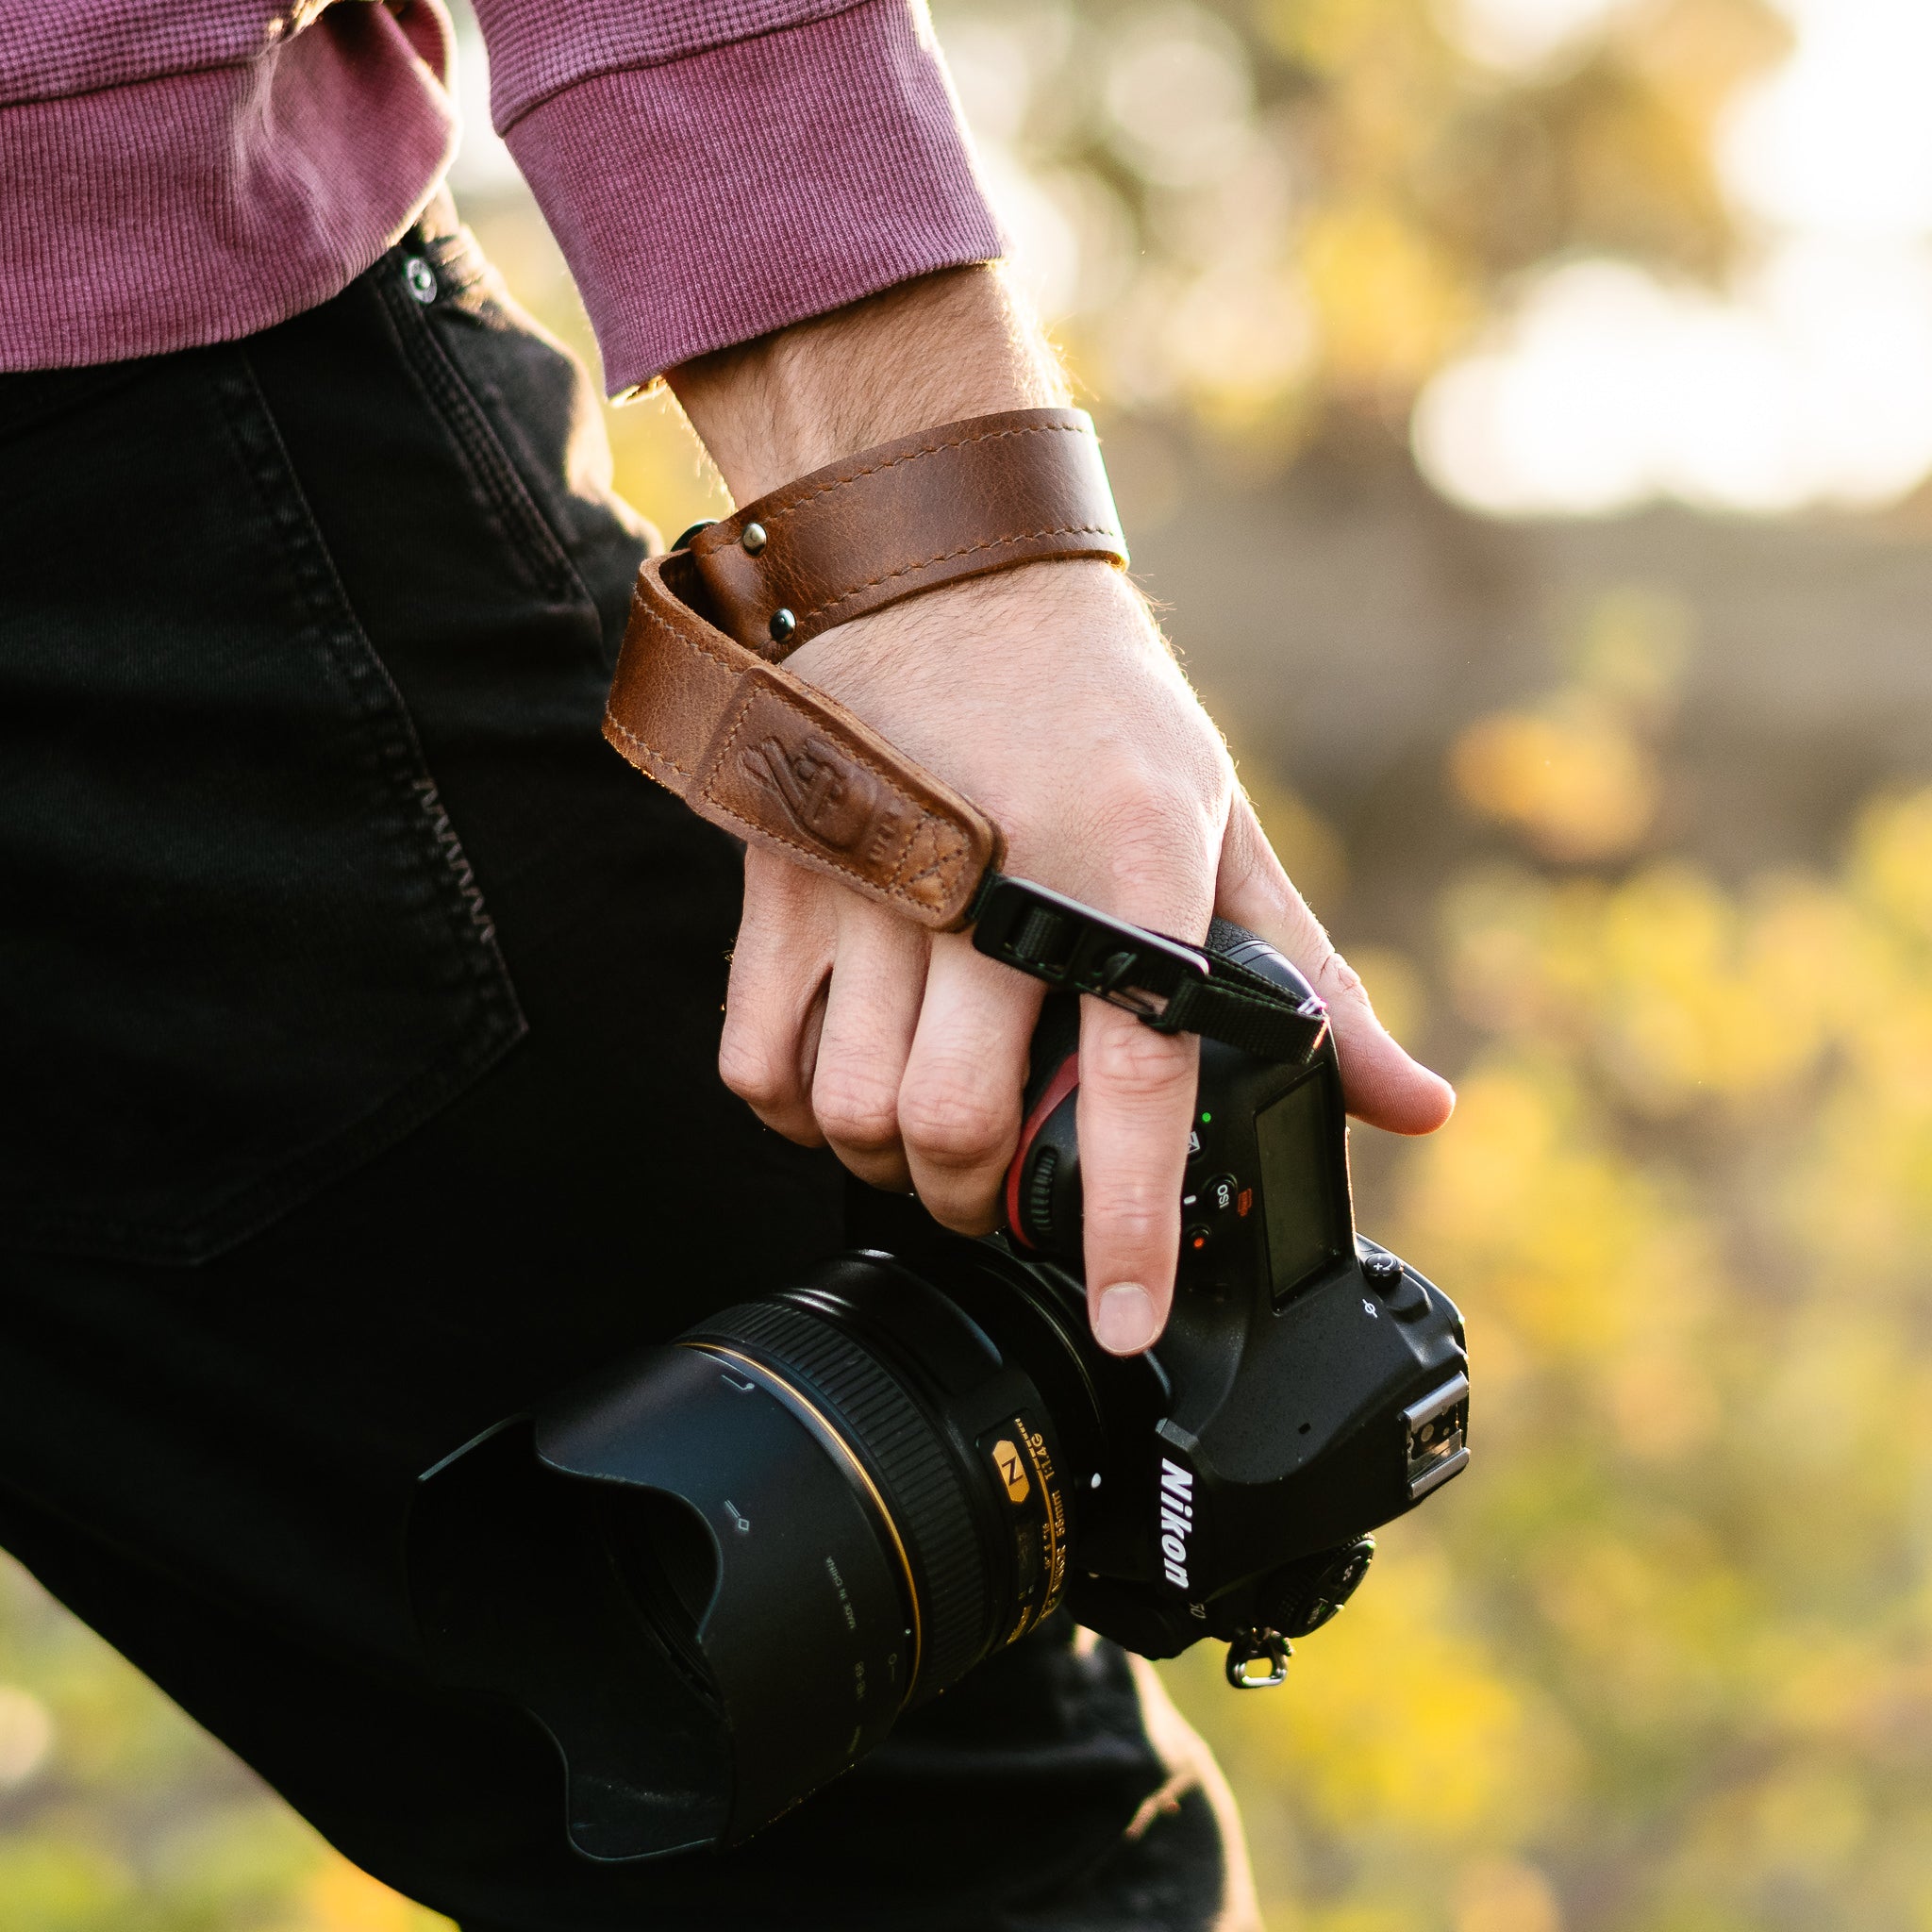
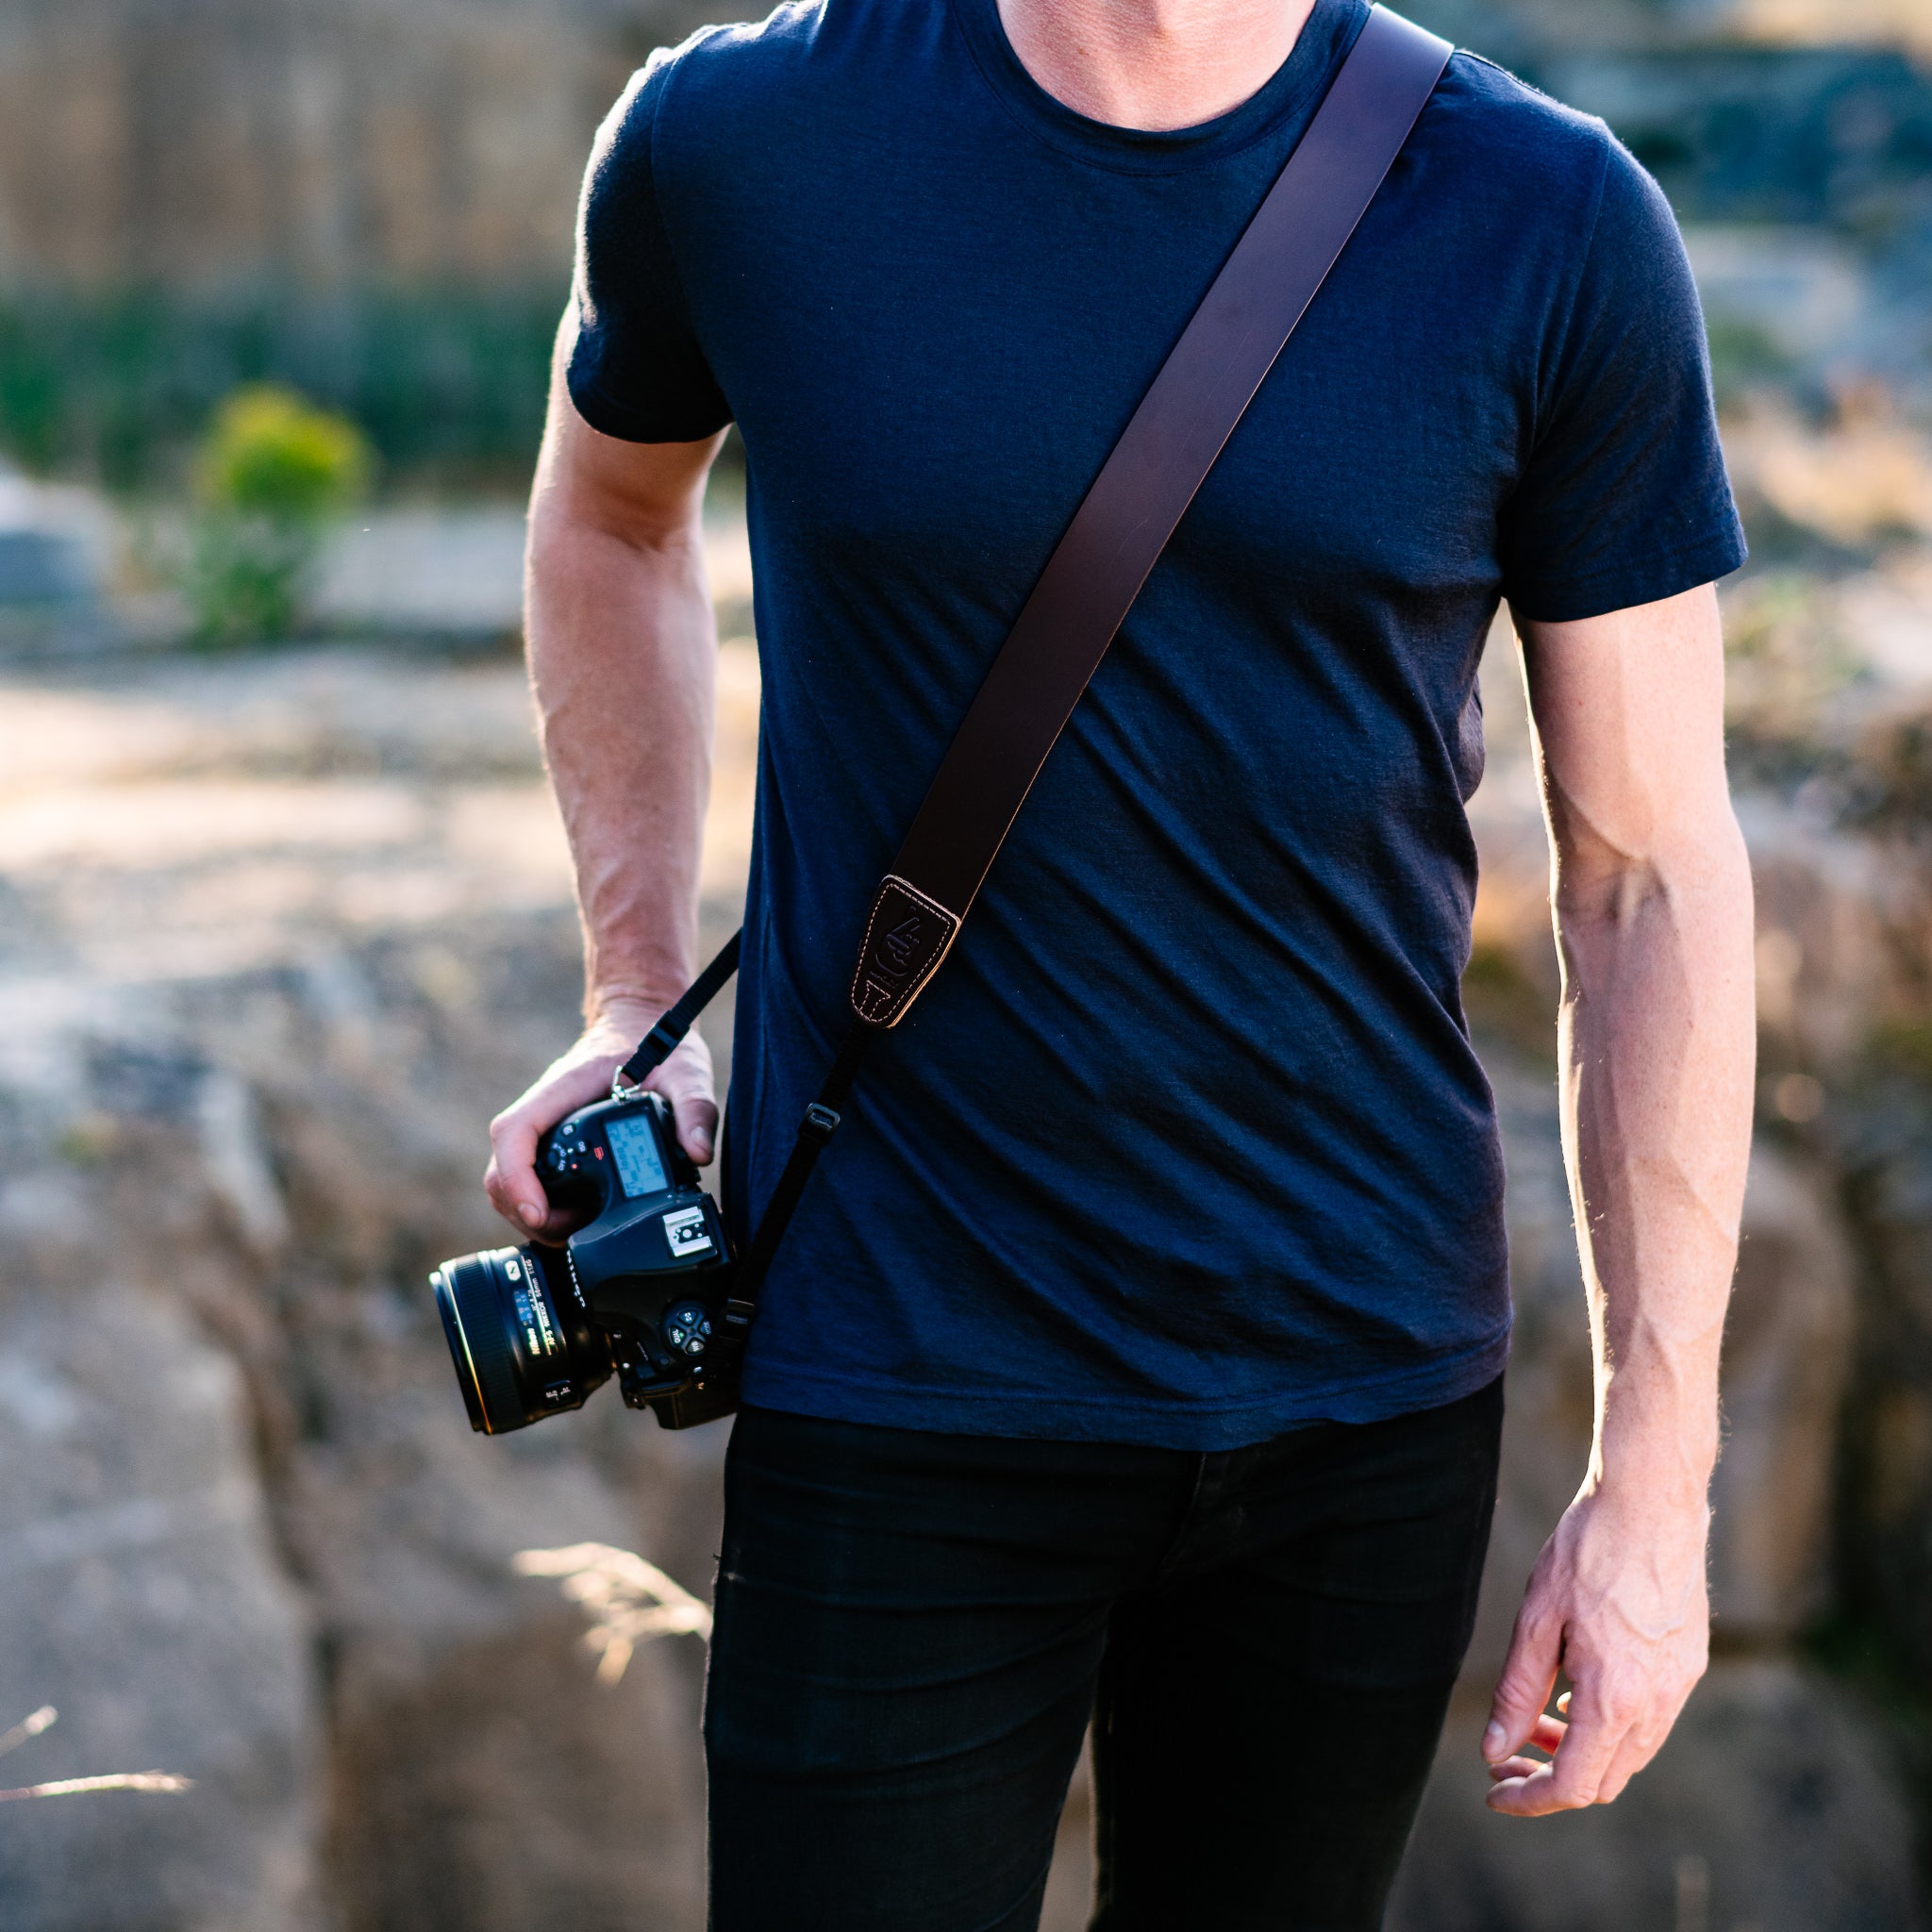
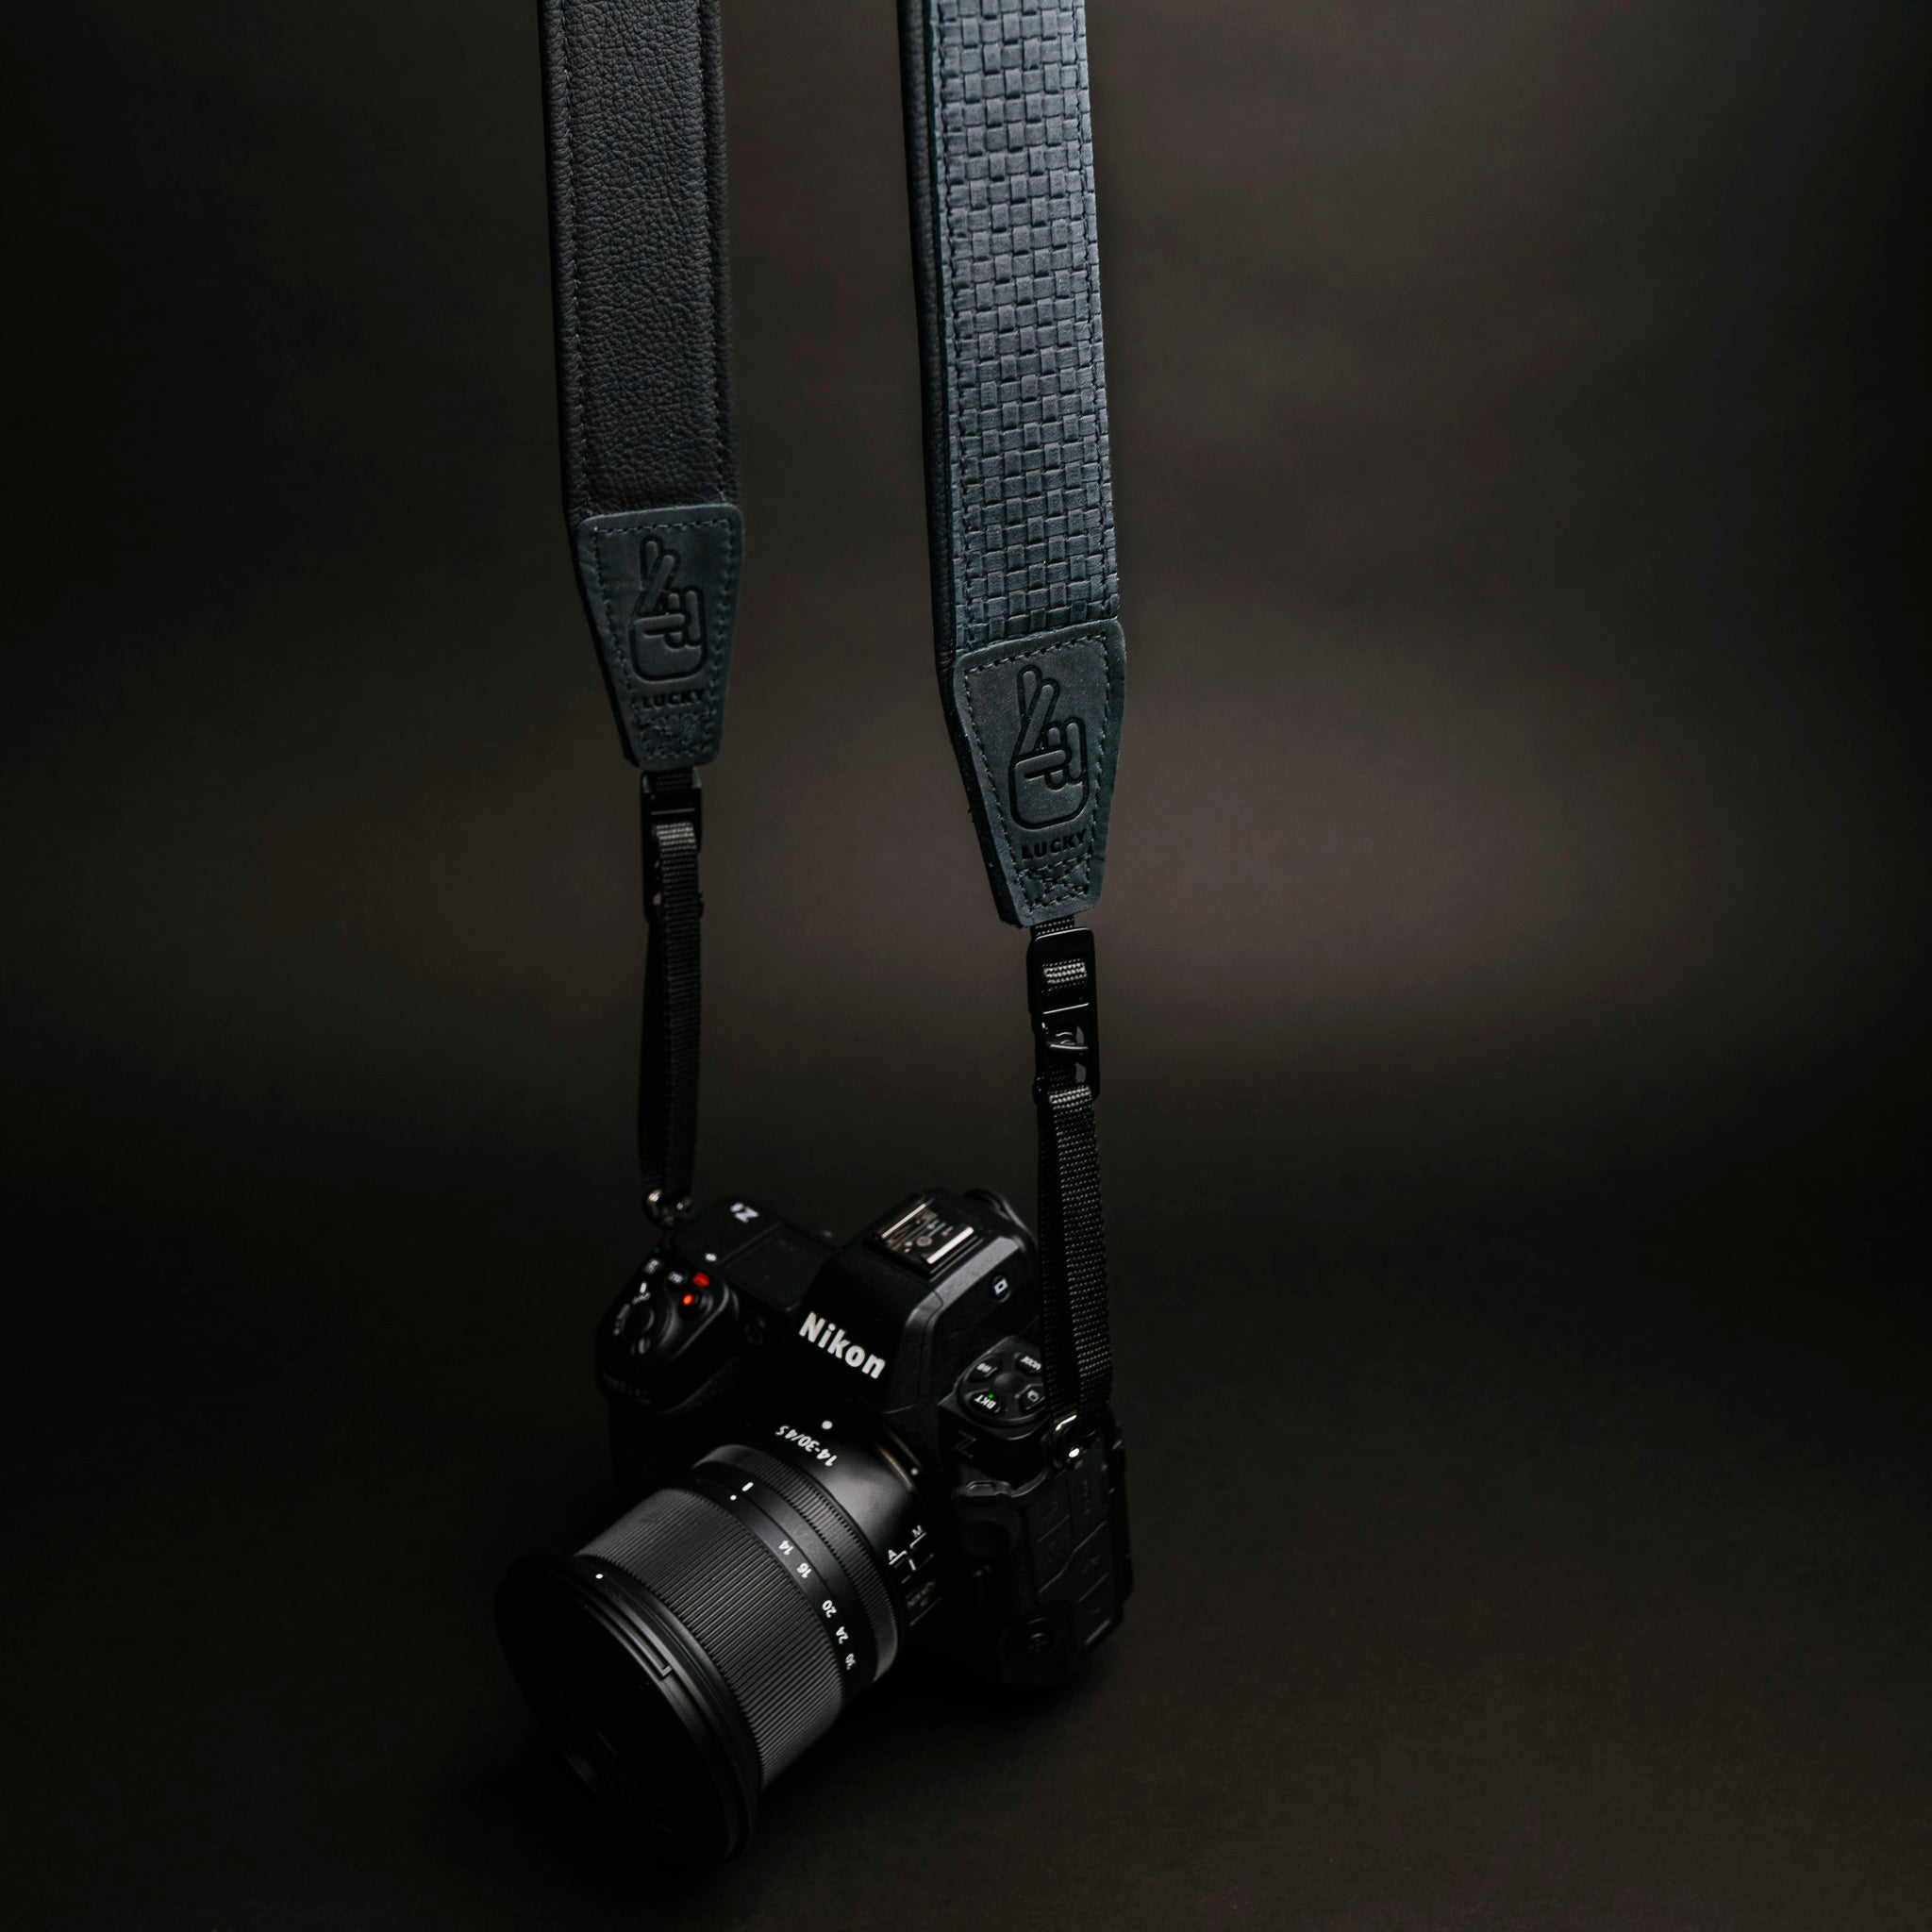
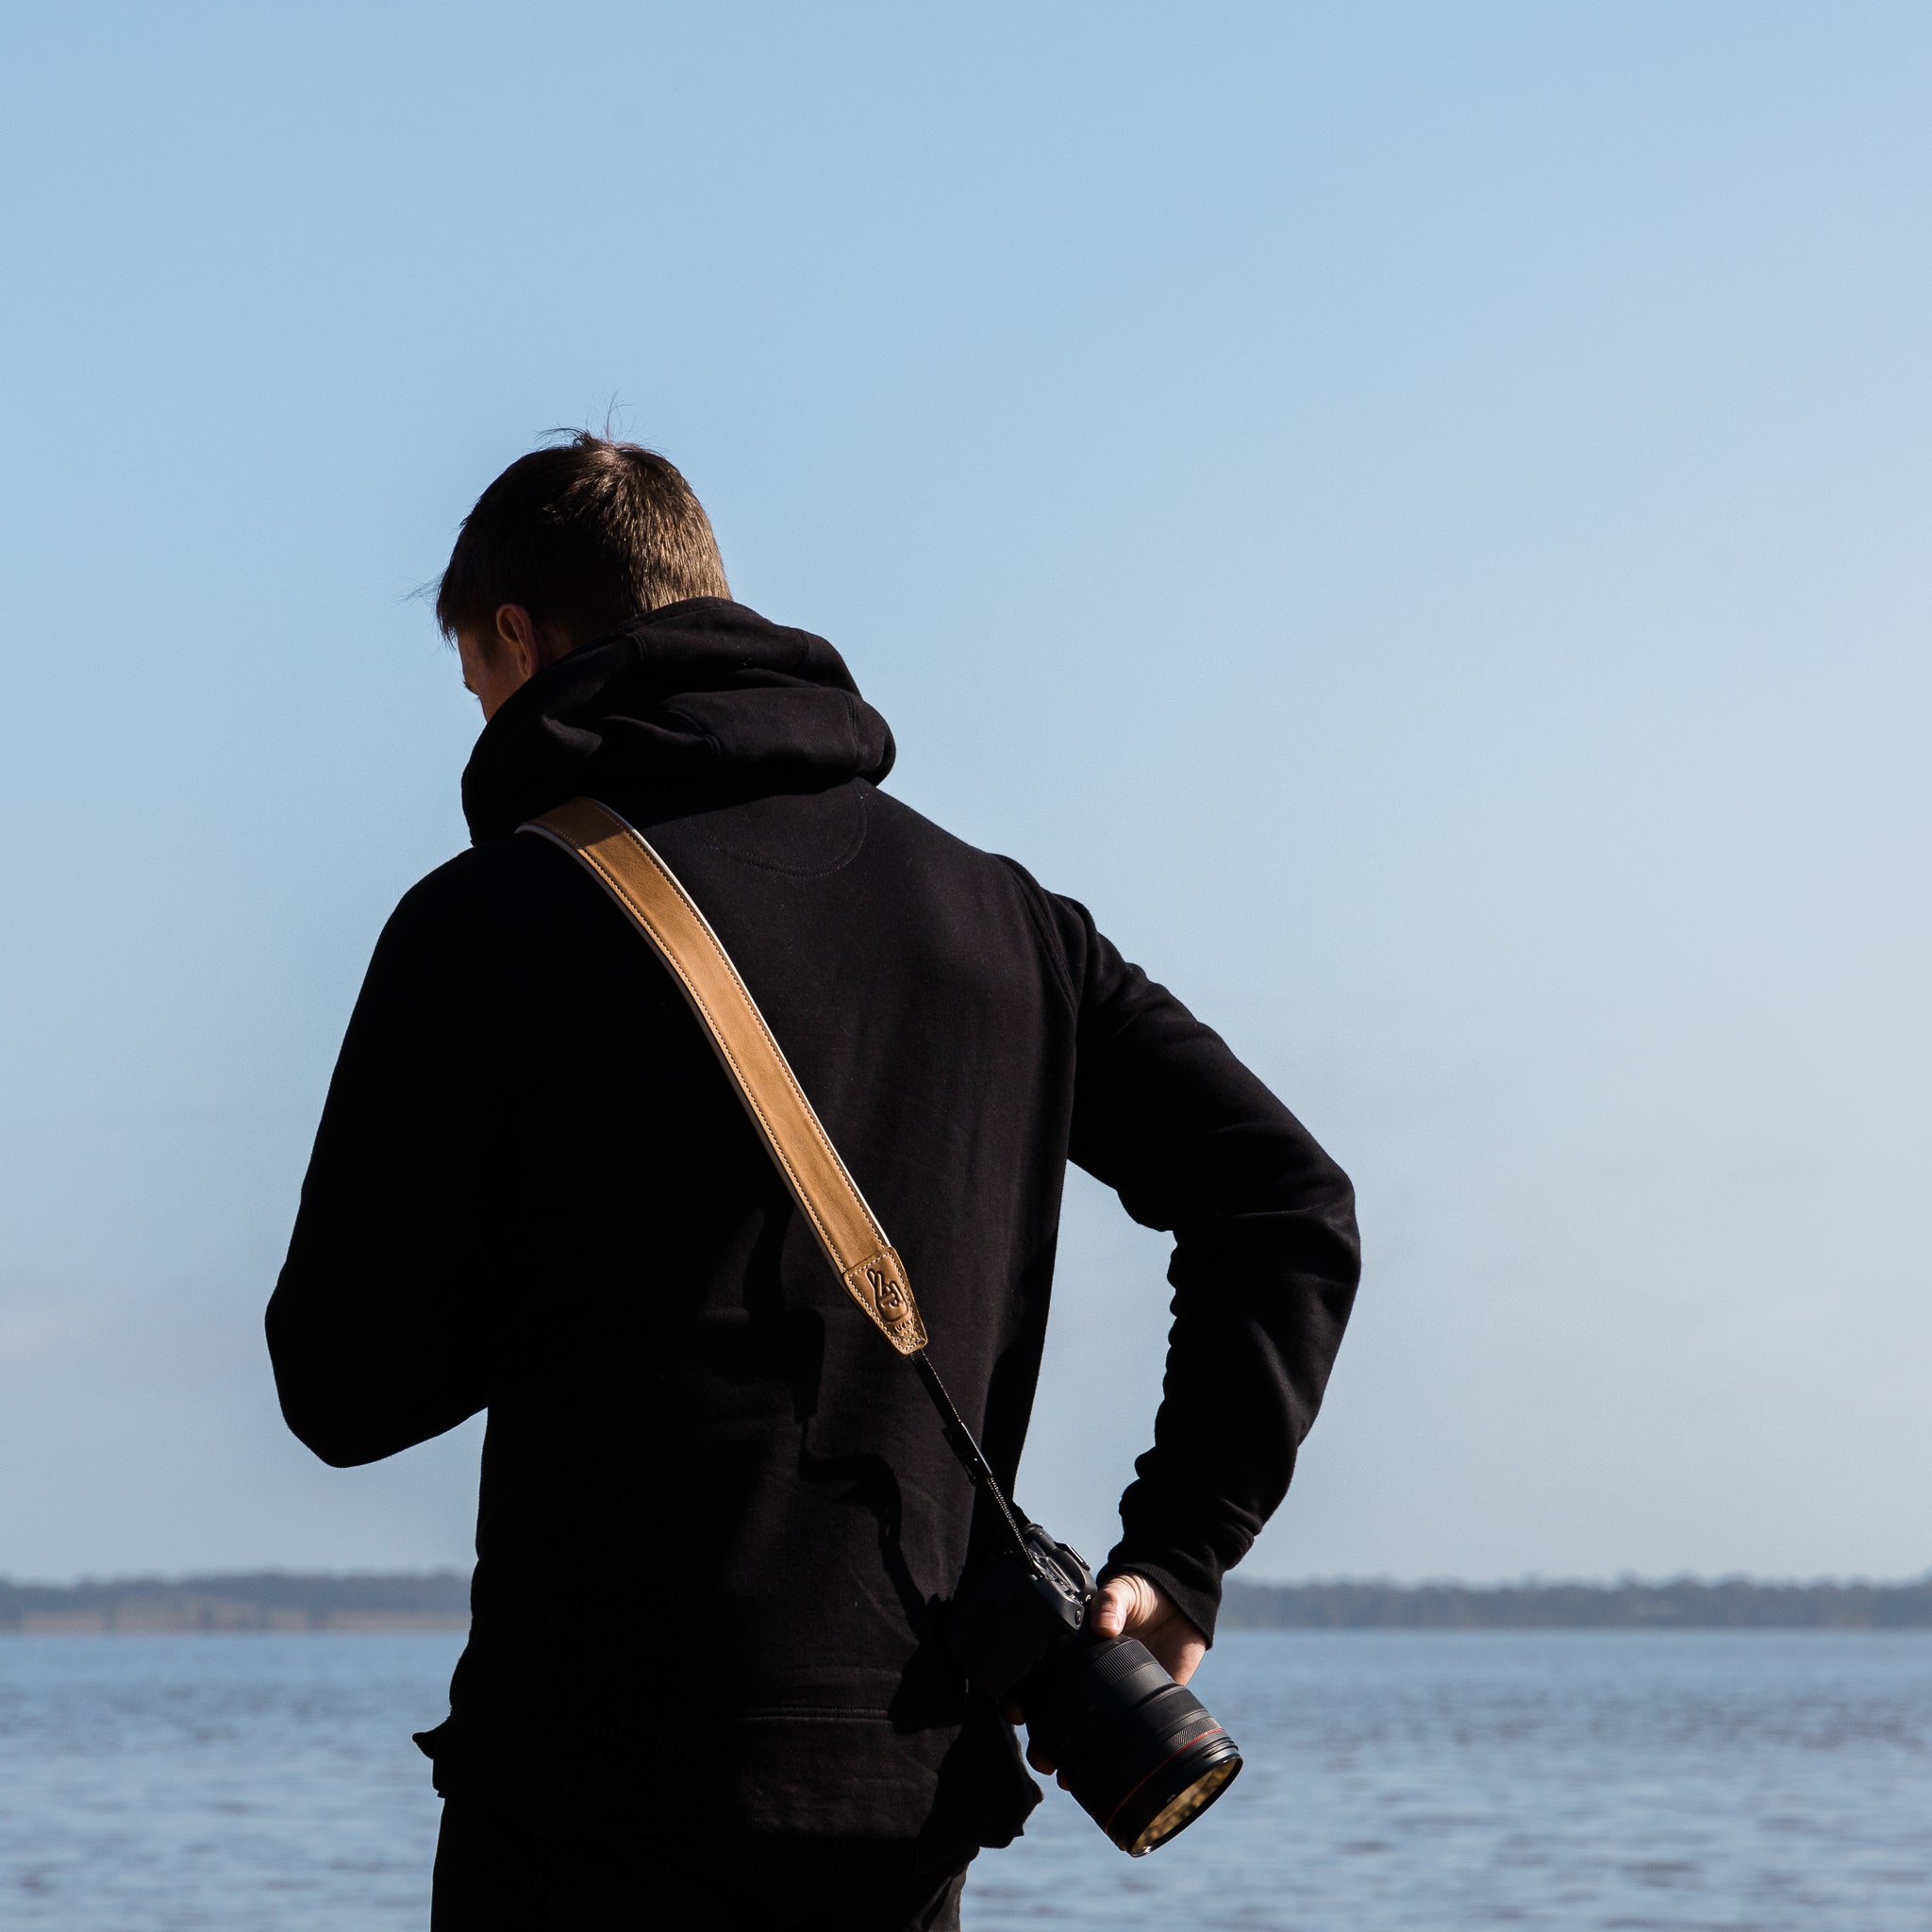
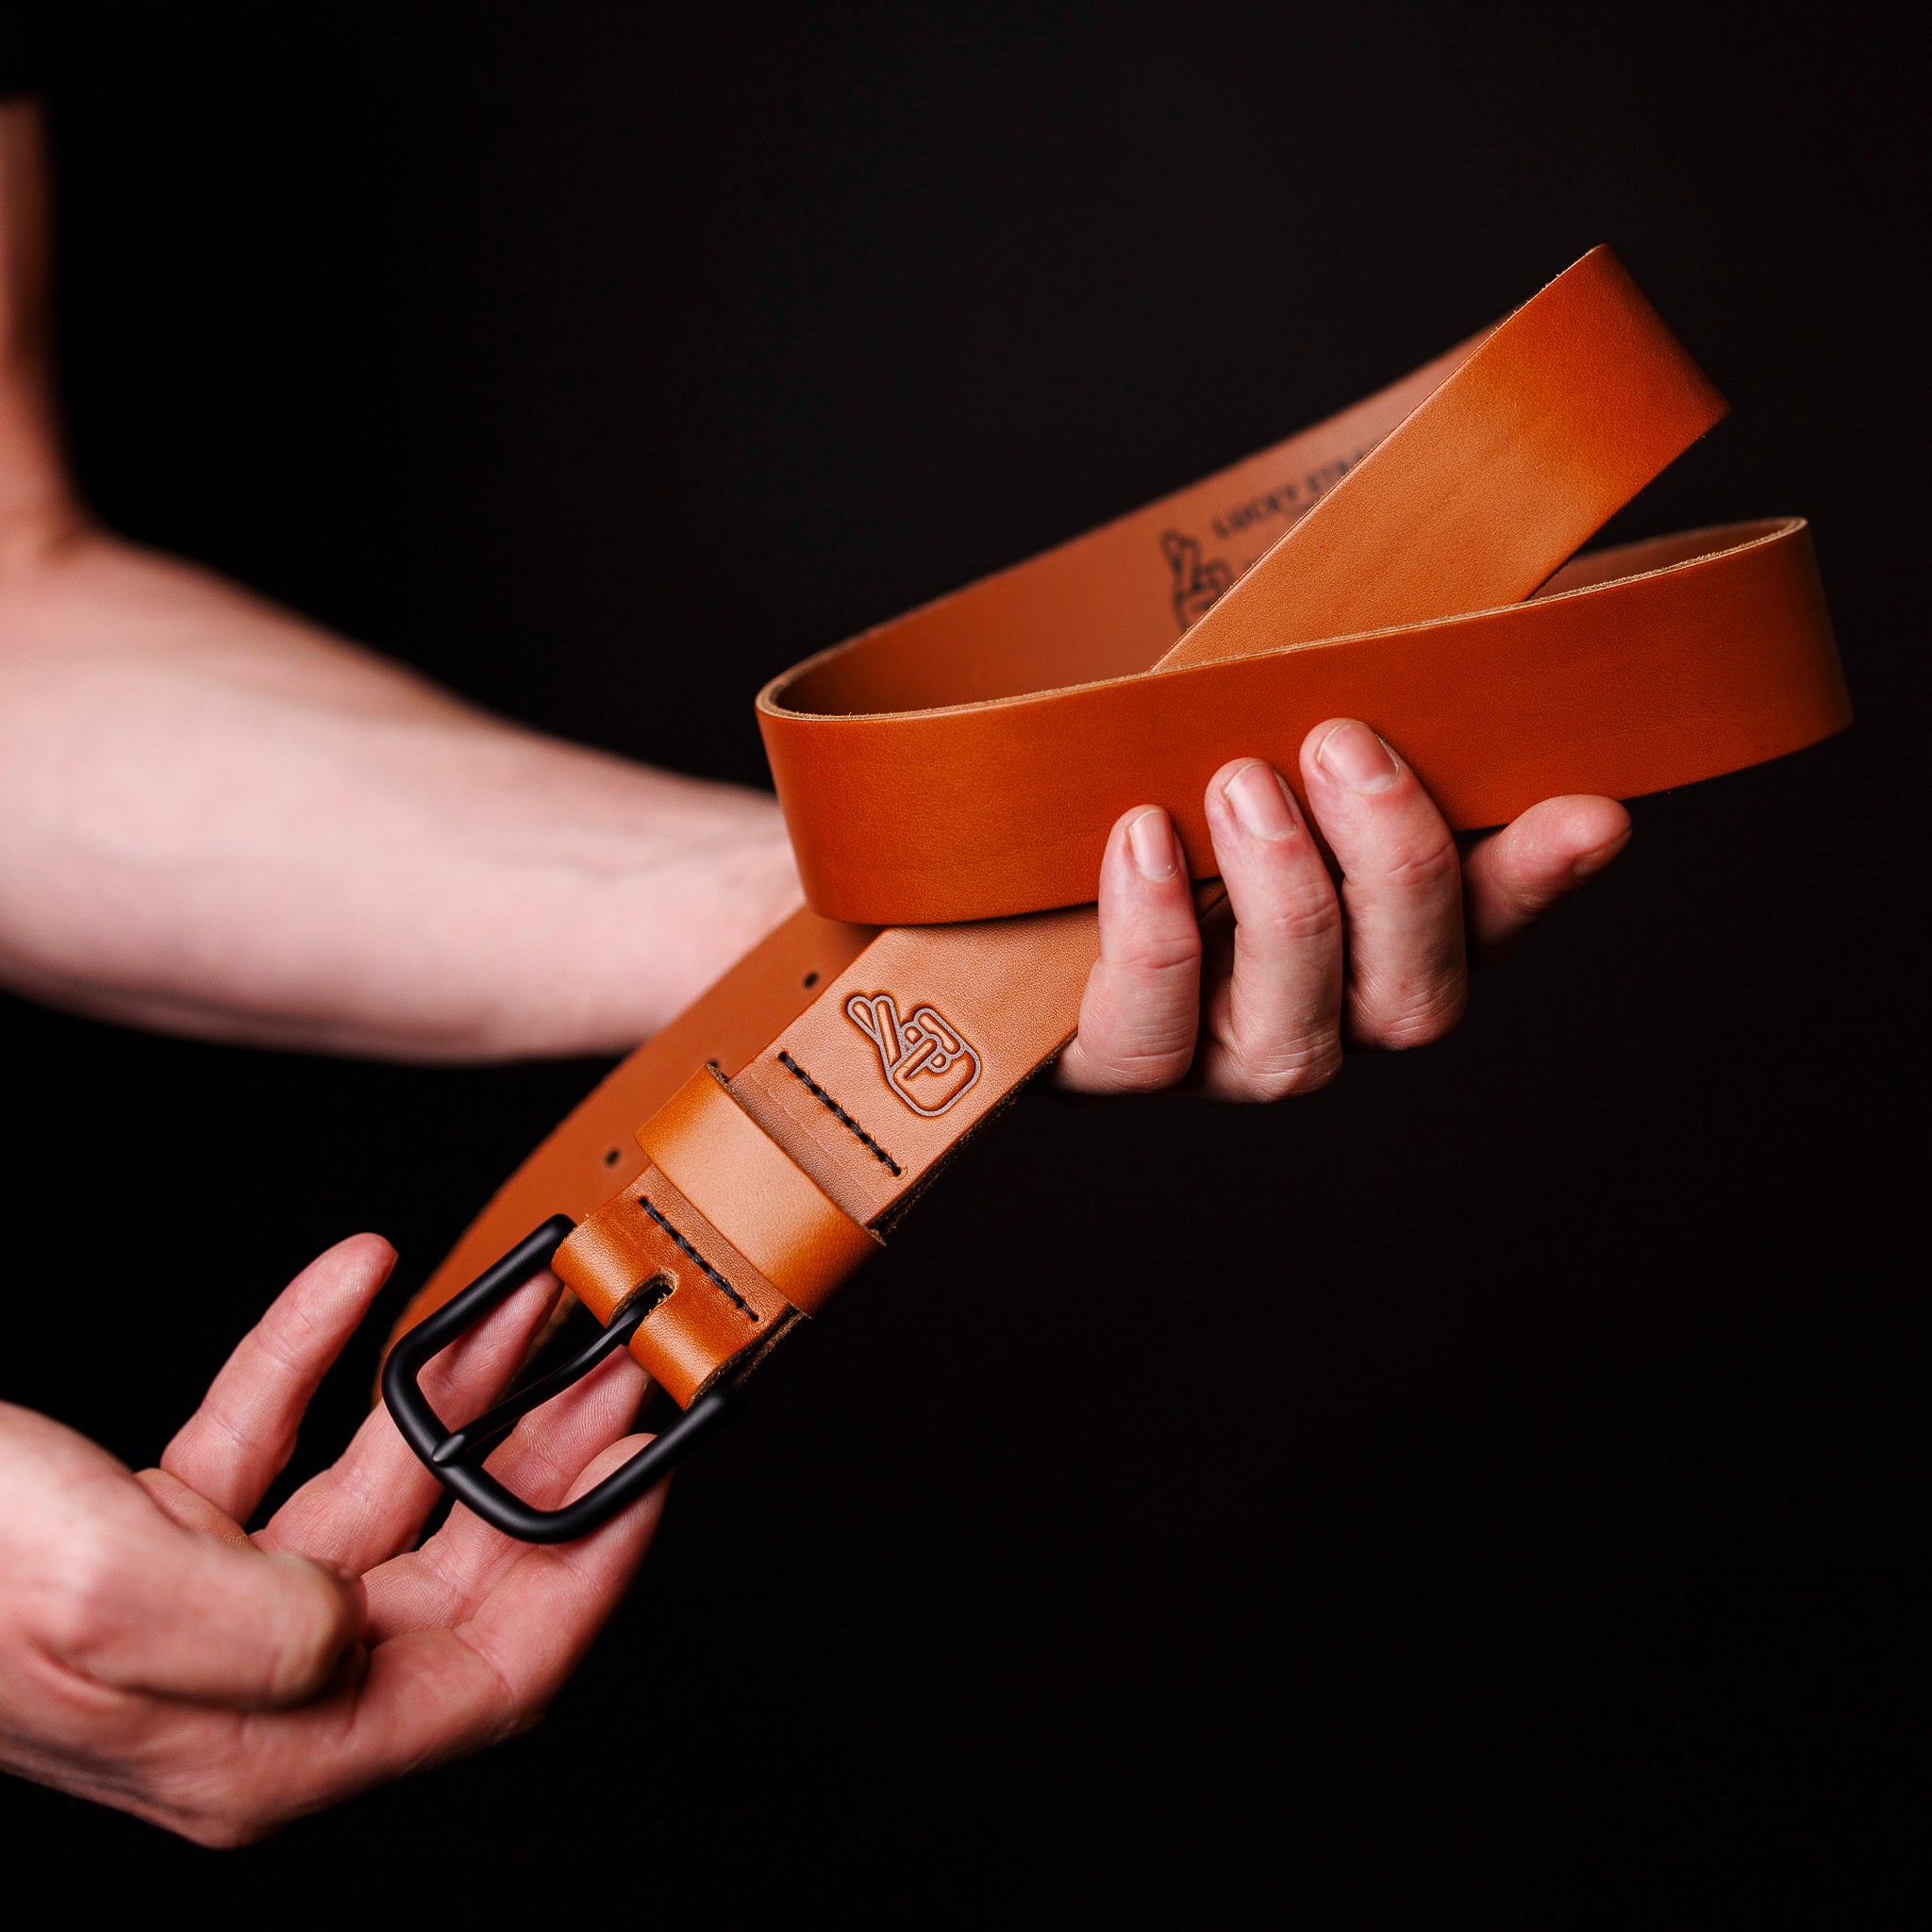
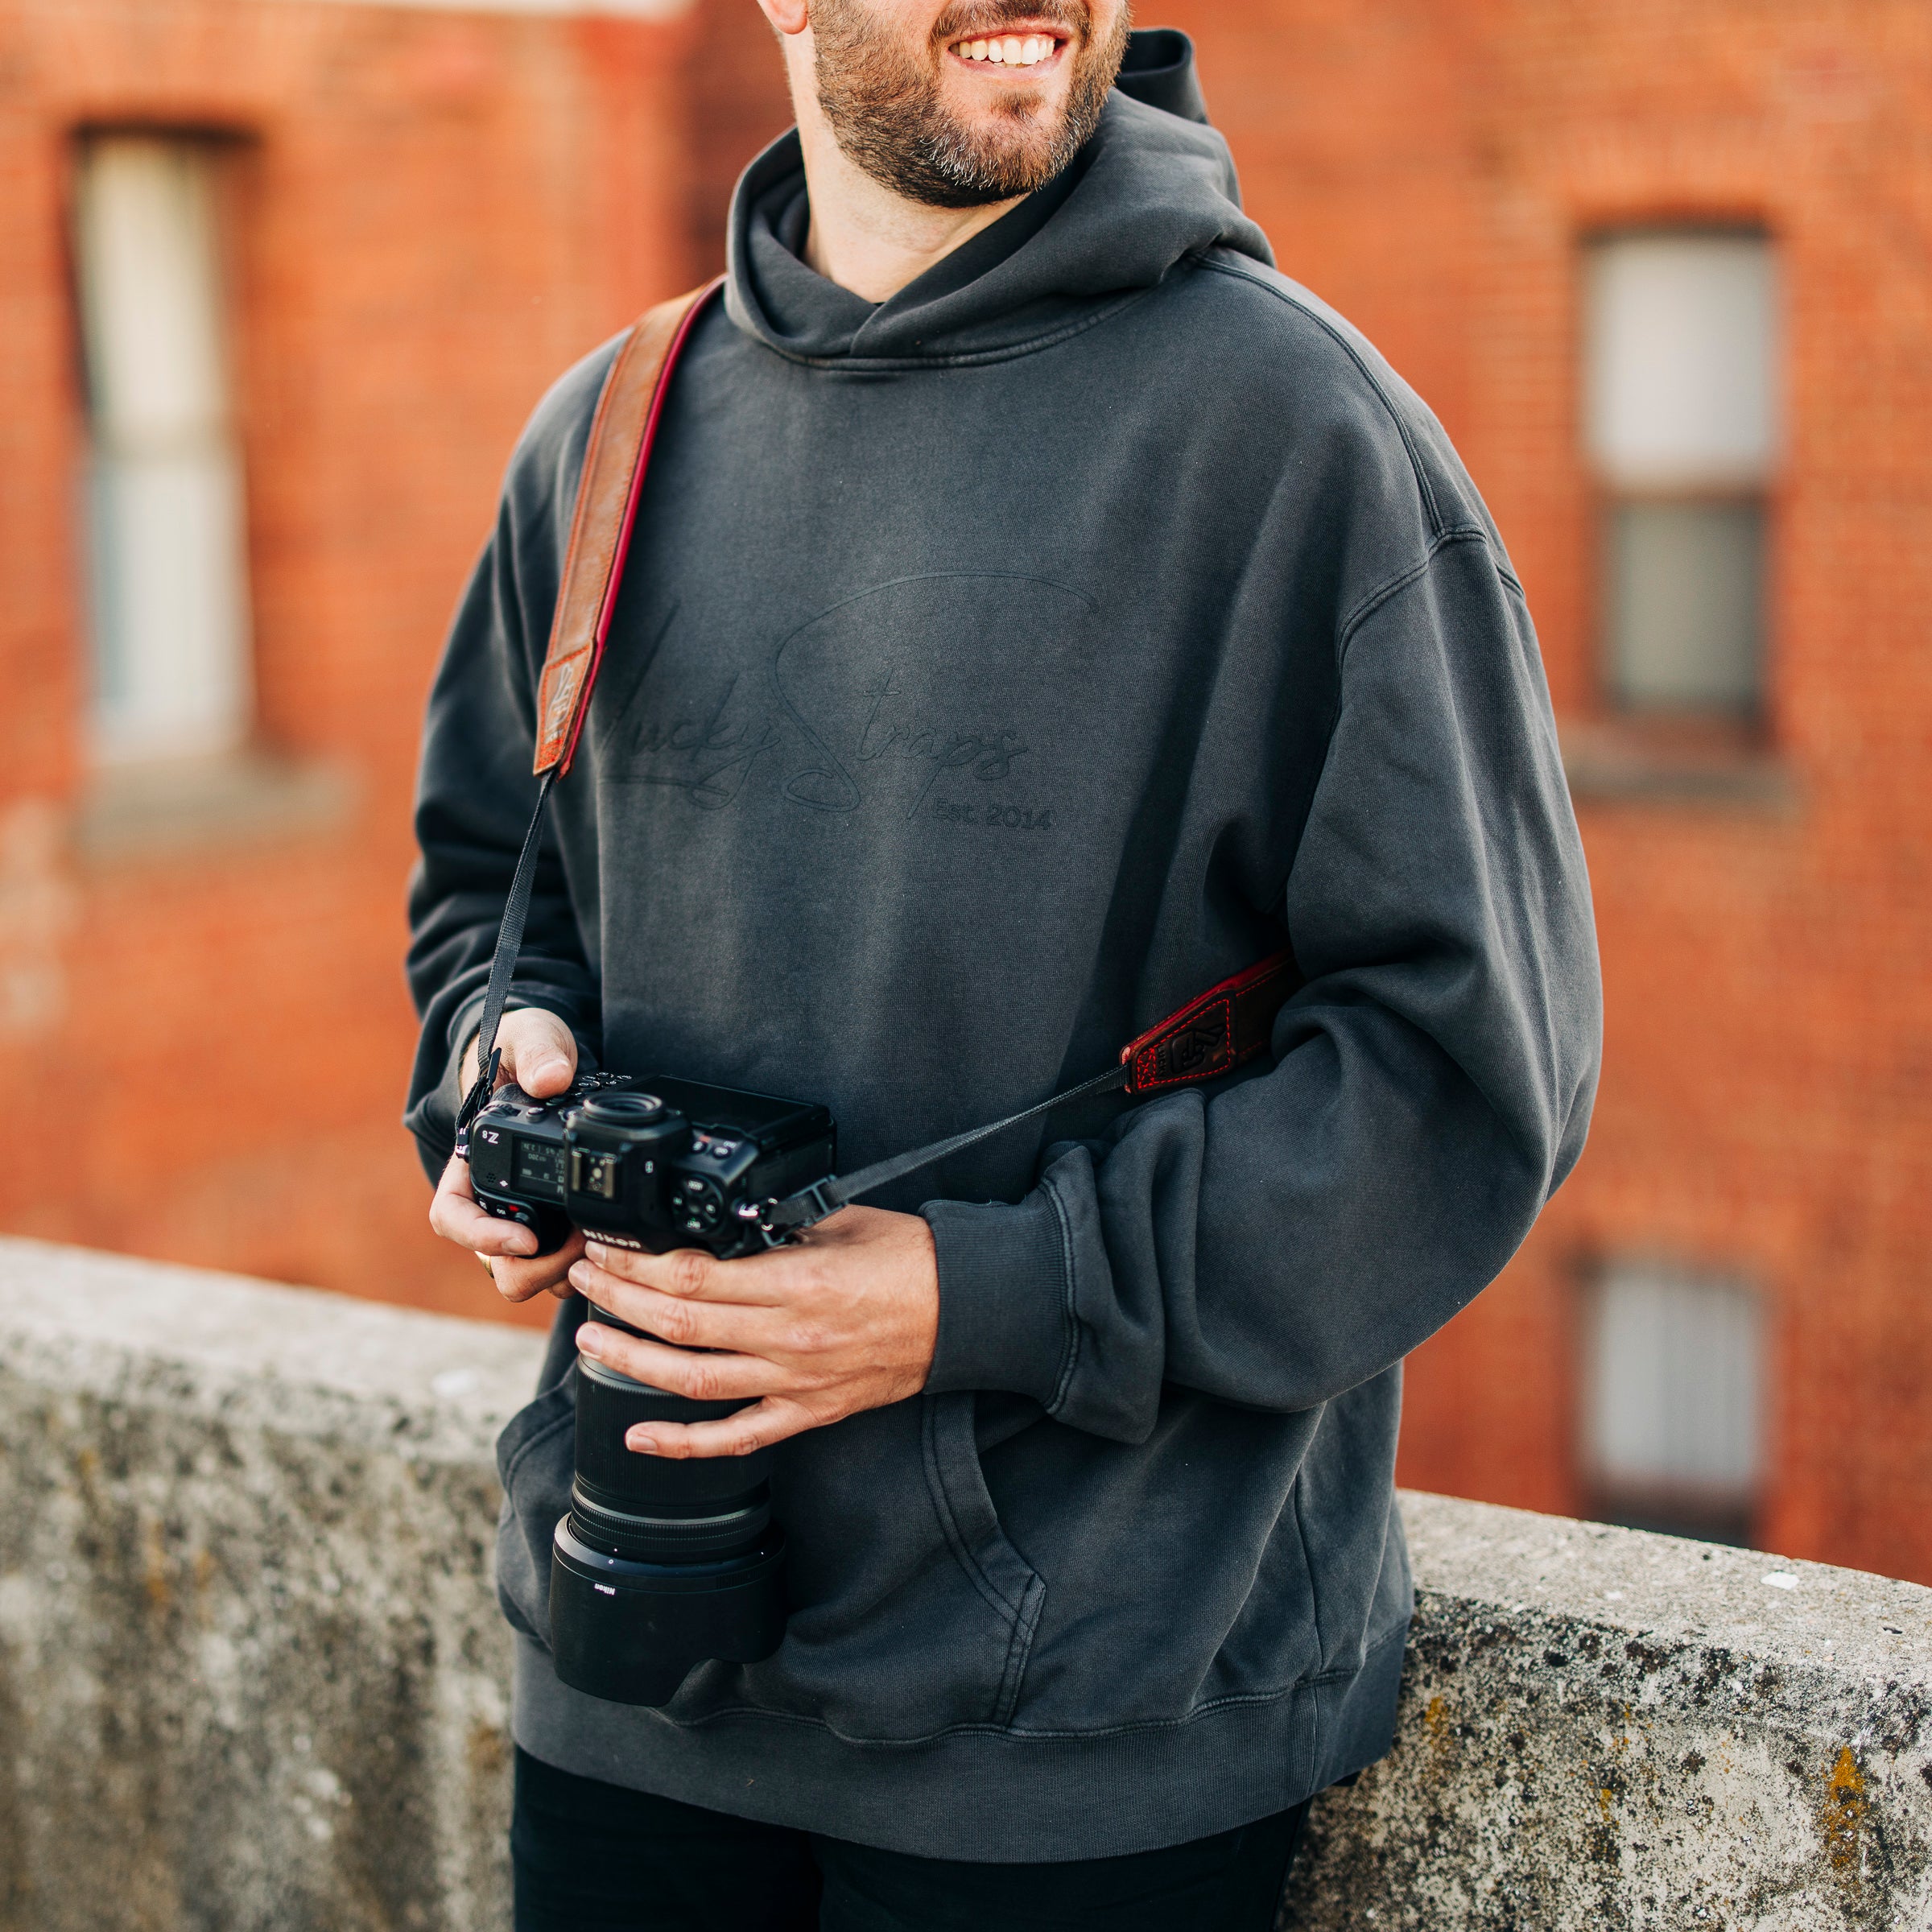
Travelling light will also improve your mindfulness, reduce fatigue, and liberate you from genres demanding excessive gear. Aside from the camera and lens, I pack a couple of extra batteries, a backup memory card, and a lens cloth. I recommend either a lightweight sling or a shoulder bag to carry the above accessories along with your everyday carry (EDC) items, such as your phone, wallet, keys, banana, etc. As for carrying the camera, I have a couple of options depending on the situation. For the Fujifilm X-E5, I use a Lucky Straps Slim 30 Leather Camera Strap in all-black. It’s the perfect strap for smaller mirrorless cameras with a prime lens. For the much smaller Fujifilm X70, I use the Lucky Straps Deluxe Leather Wrist Strap in all black again. I especially like using the Deluxe Leather Wrist Straps for street photography as the camera is always in my hand, ready to take the shot. It activates and elevates my mindfulness as I am always connected to my light-hunting tool. Plus, the Lucky Straps leather camera straps look amazing on my Fujifilm cameras.

PS. If you’re looking for a new camera strap, head over to the Lucky Straps site and use code GREG at checkout for a cheeky discount!
Basic Street Photography Camera Settings

People often ask me what camera settings I dial in for street photography. I have a fairly reliable set of core camera settings to ensure I am ready at a moment's notice. Plus, those settings let me quickly make slight exposure adjustments to match the scene and available light. It’s also important to keep your camera ready at all times. All too often, I see folks find a great scene, then stop to take their camera out of their bag, adjust their settings, and get ready to take the shot. But, it’s too late! The moment that you saw, the one that inspired you to take your camera out of the bag, is gone. Never to be repeated again. With a camera always in your hand and base settings dialled in, you are always ready to go. I dial in the settings before I even start my walk, and then constantly adjust ISO and Shutter Speed to suit the changing conditions. Over time, you become more confident and instinctively apply these settings. Don’t be shy about playing around with faster and slower shutter speeds and/or aperture to develop your own style.

Greg’s Daylight Street Settings
- If you are stationary, set the shutter speed to 1/250 to freeze motion in your subjects.
- If you are on the move and/or your subjects are moving fast, set the shutter speed to 1/500.
- Set your aperture to F8 to ensure that all elements of the composition are in focus.
- In bright conditions, set the ISO to 100-200.
- In overcast conditions, set the ISO to 400-800.
Greg’s Night Street Settings
- Depending on your subjects' movement, set the shutter speed between 1/60 and 1/125.
- If you are experiencing unwanted motion blur, set the shutter to 1/250 and increase the ISO to compensate.
- Set the aperture to F8 to optimise the in-focus elements in your composition.
- If it is especially dark, set the aperture to F4 while ensuring your subjects are sharp.
- Set ISO between 800 and 3200, but keep in mind that higher ISO values introduce more noise.
Greg’s Advanced Settings Tip
- In good light, set your lens aperture as wide as possible - anything between F1.2 and F2.8.
- Increase your shutter speed between 1/1000 and 1/2000.
- Keep ISO low between 100 and 200.
- Use single-point autofocus to freeze your subject in perfect sharpness while keeping the foreground and background elements soft and out of focus.
- Alternatively, activate subject eye detection to ensure your subject is in focus.
First, We Hunt The Light

In street photography, a few key elements make up a great composition. An interesting backdrop, light falling and shadows growing long, and characters travelling through time, space, and light all add to a street image. In many genres of photography, we see the composition before we manage the light. However, in a street setting, you should go looking for the light first. In city streets, especially in big cities, shafts of light fall between buildings and other large structures. Light also reflects off glass-fronted buildings or is cast by shop windows and streetlights. Once you have found your pocket of light, it’s time to evaluate the scene and frame up the composition. To get the best angle and composition, you may need to move a little - zoom with your feet! Once you have the frame set up, it’s time to wait for the subject(s) to enter the scene and interact with the light. Sometimes you find an exceptional pocket of light and will ‘work it’ for several minutes as different people pass before you. Don’t use burst modes. Stick with single shots and master your framing and timing.

Hot Tip - If you're out and about and find a great spot to shoot, open Google Maps and drop a pin on it for later reference and future street walks. You can even make notes on your phone or in a small notebook about the location, the time of day, the date, and what you found.
Simple Street Photography Exercises

To build upon your street photography skills and experiences, try these simple exercises designed to train your eye to spot the light, compose a frame, and master the shot.
Study The Light - Photograph just the light as it falls upon street-art-covered walls, cobbled or wet streets, and the surrounding architecture. You don’t always need people in your compositions for them to be successful. As the sun traces its path across the sky, watch for how the light changes and how shadows shift. Again, make notes of especially great locations. Compare morning and afternoon light, and pay close attention to the Golden Hours. Repetitive excursions help you develop an internal sundial to know where the light will fall throughout the day.

Hunt Colour - Be on the lookout for specific colours such as red, blue, yellow, or green. Colourful elements add character and interest to street scenes, whether in the foreground or background. Or, perhaps the subject is wearing that colour! Hunting a specific colour is a great way to turn on your photographer’s eye, build upon your mindfulness, and frame an interesting composition. Trust me, once you hunt for red elements, all you will see is red elements everywhere.

Keep It Monochrome - If your camera allows it, set your live view to monochrome in the viewfinder and/or on the LCD. The absence of colour forces you to observe tonal differences in the scene and helps to better understand image exposure throughout the frame. Plus, black-and-white street scenes look amazing.

Seek Shapes, Patterns, and Repetition - Bold shapes, interesting patterns, and repetitive elements also add a lot to street compositions. Often these elements are found in shop fronts, street art, signage, surrounding architecture, and even the clothing worn by subjects. It’s also great to include typography in your compositions, as it adds compelling elements. Street signs, shop fronts, billboards, and even street art and murals all add to a great street shot.

Leading Lines - One of the most prominent elements in street scenes is the use of leading lines. Train lines, power lines, and even the edges of gutters, footpaths, and rooftops form leading lines. Perspective allows leading lines to converge and diminish in the distance, drawing the eye deeper into the scene. Leading lines are also an effective tool to draw the viewer's gaze to a point in space.

Get Down Low - We all walk around and see the world at eye level. But there’s a lot to be gained from viewing and photographing street scenes from down low. You can try shooting from the hip, or crouch right down and hold your camera at street level. Shooting low allows for dramatic scale in a scene.

Reflections - Using reflections in street photography is an easy way to elevate compositions. Puddles of water, fountains and water features, and even shop windows offer reflective surfaces to add further depth and interest in a scene. Reflections are also a great way to add repetition to a scene.

No People? No Worries! - If you’re nervous about photographing people on the street, then don’t! Don’t include them in your composition. Compelling images can come from vacant street scenes void of people. Once you feel a little more confident, you can include people in your compositions, but start with people walking away from you, with their backs turned.

Look For The Hero - If you are setting up a scene where there are lots of people in frame, look for the hero of the shot. Street scenes can become crowded, especially during peak travel times in a city. Quickly review the scene and identify your hero subject. It could be someone whose clothing stands out, or as simple as someone facing one direction while everyone else has their back turned. Often, the hero is a unique-looking individual, as seen in their clothing, movement, and body language.

I Know My Rights!

We live in a world where consent is important to ensure people’s comfort and safety. And many street photographers ask for consent before taking someone's photo. But to me, that’s more environmental portraiture than street photogrpahy. Asking permission to take someone's photo changes the dynamic and mood of the shot. Subjects become more self-conscious, change how they move and behave, and alter their facial expressions. My street photography style is very candid, as I do not seek permission before taking a shot. I prefer to document the true moment without impacting the scene or outcome. As a result, it’s important to know your rights. In Australia, I am well within my legal rights to photograph people in public places. If I am standing in a public space, I can photograph anything I can see - even people who are in a private space but are exposed to the public eye. If you are travelling outside Australia, it’s a good idea to do a quick Google search on public photography laws and rights. However, that doesn’t mean I photograph everyone indiscriminately. I have rules in place for that.

My Rule Book For Safe Street Photography

Here are some of the things I do and don’t do when out and about on the street. Keep in mind that these are my rules, and I employ them to keep me safe and minimise the impact I have on the people and scenes around me. Below is a summary, but you can check out my full article on my street photography rulebook here.
Children - As a parent and long-term foster parent, I strive to protect children from all sorts of nefarious crap. With that in mind, I do not photograph children when on street walks. If a family with children or older kids in school uniforms walks by, I deliberately point my camera at the ground and hold it against my chest. I don’t try to hide my presence or camera. Once the younglings have moved on, I lift my camera and continue my hunt.
Vulnerable People - I don’t photograph rough sleepers, folks with noticeable disabilities, or those who are obviously impacted by drugs, alcohol or mental illness. People experiencing some form of vulnerability deserve a considered and apathetic approach. Steering clear of vulnerable people will also reduce your chance of unwanted conflict.
Chasing The Shot - No image is worth chasing a subject down the street. Regardless of how perfect they are for your composition! If you or they are not in the right position to make the shot, that opportunity has passed. It’s also essential not to restrict the path someone will take or box them in.
Avoid Conflict - If someone notices you taking their photo and asks what you are doing, be honest. If approached, I tell people, “I am a photographer documenting the street scenes, architecture and people of Melbourne. I can show you the image that you were in if you’d like to see it?” If they ask me to delete the image(s), I instantly comply and delete them. I also assure them that they have been deleted. It’s just a photo, and I have nothing to gain from being deceitful. It’s not worth upsetting someone, creating potential conflict, or arguing over who has the right to take photos of others.

Go On. Get Streety!

Street photography is an often misunderstood genre of visual image making. Many don’t understand or appreciate the attraction of hunting the light and documenting street scenes. However, consider the candid images and documentation of everyday life from 20, 50, or even 100 years ago. Images you’ve seen in history books, newspapers, and even displays in galleries and museums. Without candid images to verify and reveal a lost time, our understanding of the past is muted, if not incomplete. Street images represent a specific moment in time and space that has long passed, but deserves to be remembered. In that respect, I believe I have an obligation to document what is before it becomes what was. To be honest, it's a humbling experience. Let me explain. Street photographers record the human experience on a planet hurtling through space at over 100,000 kilometres per hour while basking in the light of a star (our sun) some 150 million kilometres away. The shaft of light you see on the street today left the sun eight minutes prior, and travelled in electromagnetic waves at roughly 300,000 kilometres per second (the speed of light) to collide with life and illuminate a moment in time and space. That in itself is magical. So go on! Get your street on and hunt that light to tell a fleeting tale of the human experience. Be safe. G